This section of the guide is out of date.
Freedom2Roam has now been released and replaces RAv3. Guidance on using Freedom2Roam is available here.
After adding the site to your trusted sites (if using Internet Explorer), type the secure web address (beginning with https://) in the address bar and click Enter.
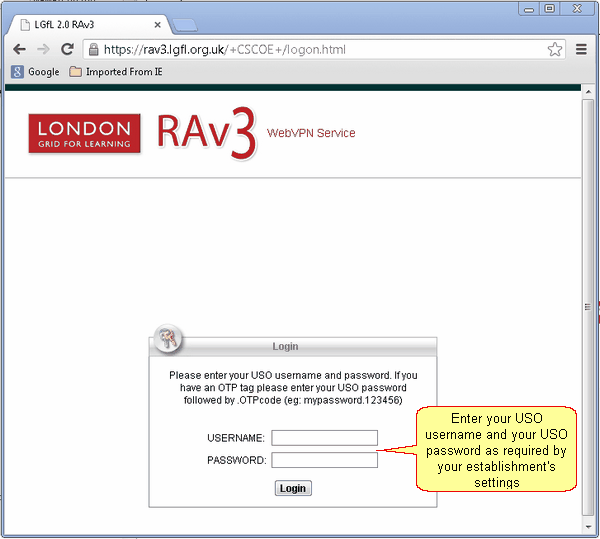
You will be presented with a screen asking you to log in.
You will need to enter your USO username. Please note that in some LAs, the 3-digit LA suffix will not be required. However, it is required for all LGfL users.
For the password, please enter your USO password.
If you have a registered OTP tag, you will need to enter your password followed by ".otp code" so that it will appear as: password.123456
If you are associated with more than 1 school, by default, after logging in you will see only the settings that apply to the school that is recorded in USO as your main school.
To use the settings for any other establishment to which you may be linked, you should add the "@" symbol followed by your 7-digit DFE code after your username. This would appear as follows:
<username>@<DFECode>
For example, a user whose USO account is jsmith553.998 who has a secondary association to a school with the DFE code of 998-5555 would enter:
jsmith553.998@9985555 to access the settings associated with that school
Please note you will need to full 7 digits of your DFE code after the "@" despite it already being included in your username.
Once you have logged in, you will be presented with your Home screen.
Your screen will look similar to the one below though may contain fewer options.
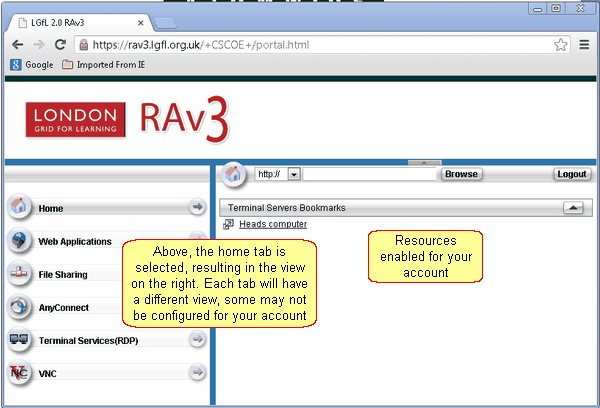
The links in the main part of the screen are shortcuts to the locations you can access remotely (by clicking on them). They are grouped by type (ie web, network drives, remote desktop).
Clicking on a tab on the left side will filter your configured shortcut(s) and will cause only the shortcuts available for that type of connection to be displayed in the central part of the screen. (In the image above, the centre of the screen shows all shortcuts because no specific tab is selected.)
If you believe you should have access to locations that do not have a link you will need to speak to your IT manager and ask for access to the location to be configured for you.
See also:
Accessing pre-configured locations