|
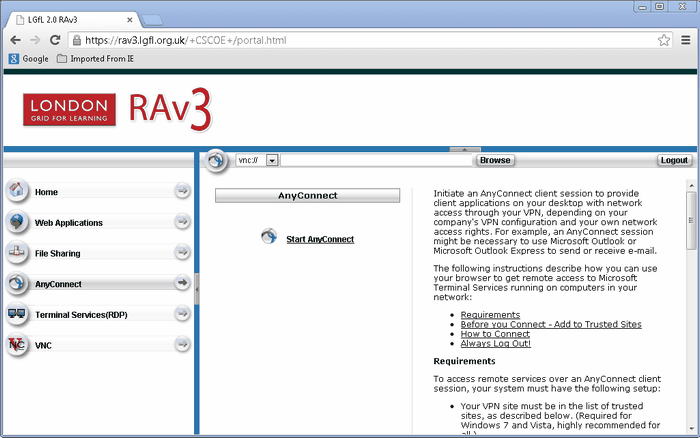
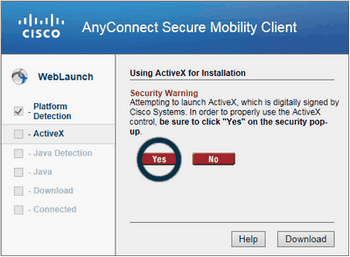
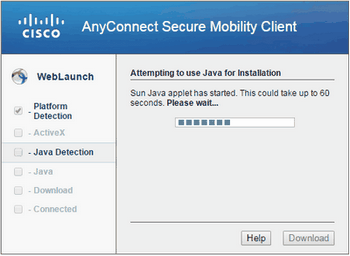
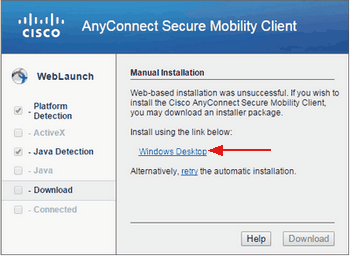
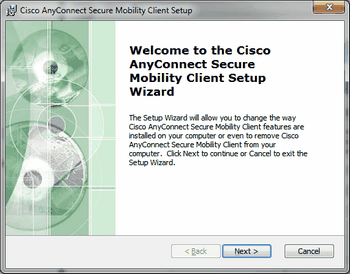
Once you click on Start AnyConnect, the system automatically searches for the VPN client application and connects to it. If the client application is not installed, the computer will try to do it for you. To allow the installation, simply click Allow, Next or Run for any messages that pop up.
If you are using Internet Explorer, the client will try to install itself automatically via Active X.
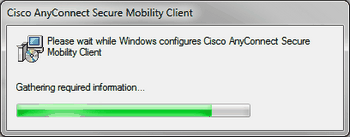
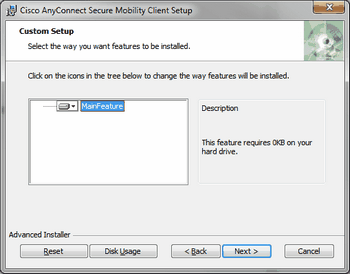
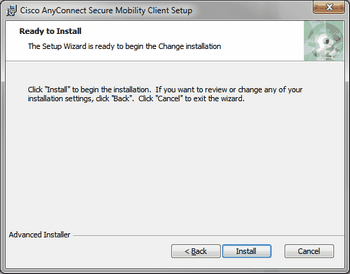
Allow the installation to take place and follow any instructions given.
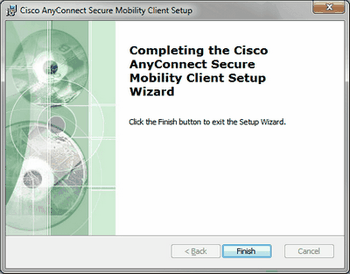
Once the VPN client is installed click Finish.
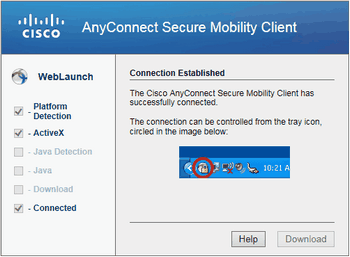
When a connection has been established successfully a message on the screen will inform you that you are connected.
You are now connected to the school's network and can explore all accessible locations within the IP range defined for you.
Use your computer's Start menu to access applications or connect to other locations.
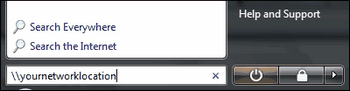
You will be able to type in the name of a location to access it directly as shown in the image below.
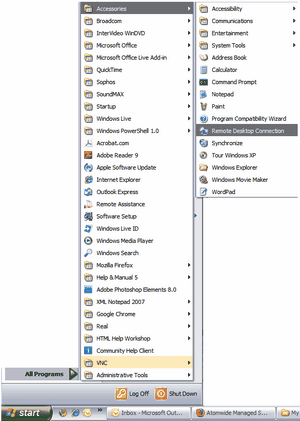
You can use the Microsoft Remote Desktop software to start a Remote Desktop Connection with any computer or server you require. This is normally found under the Start menu > Programs > Accessories > Remote Desktop Connection.
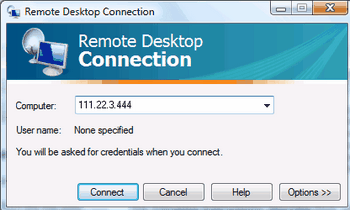
Enter the IP address of the computer you want to connect to.
You will be prompted to provide a username and password for that machine. ThYou will then be presented with that computer's desktop and can work with its resources directly.
When you have finished your work, remember to log off by going to the Start Menu and choosing Log Off.
If you are using a Mac, you can download a free app called Microsoft Remote Desktop from the App Store. 
You will need to launch the app to enter the IP address of the machine you wish to connect to.
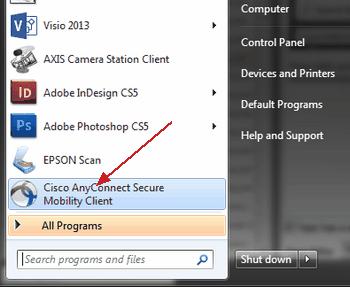
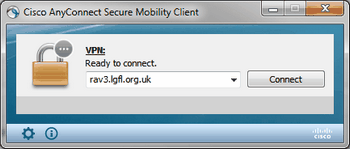
After the initial installation, you will need to open the Cisco VPN client and connect to rav3.lgfl.org.uk or rav3.trustnet.pro first before using a remote desktop application to connect to another machine.
Launch the client and connect. (The same process must be performed on Mac and Windows)
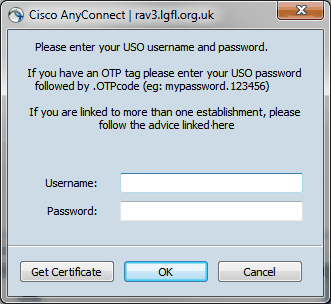
You will be prompted to enter your login details.
If you are associated with more than 1 school, by default, after logging in you will see only the settings that apply to the school that is recorded in USO as your main school.
To use the settings for any other establishment to which you may be linked, you should add the "@" symbol followed by your 7-digit DFE code after your username. This would appear as follows:
<username>@<DFECode>
For example, a user whose USO account is jsmith553.998 who has a secondary association to a school with the DFE code of 998-5555 would enter:
jsmith553.998@9985555 to access the settings associated with that school
Please note you will need to full 7 digits of your DFE code after the "@" despite it already being included in your username.
|
 If you are using an Apple computer running OS X then please be aware that Cisco's AnyConnect client no longer supports versions prior to 10.6 (Snow Leopard).