LGfL schools
Please refer to the LGfL User Guide by clicking here.

In order for your installed software to work it must be activated via the support site. The activation procedure specifies your MIS type and provides you with the software licence key. The enabling of reports may (and ideally should) take place prior to the installation of the software. However, after the initial activation, which involves selecting your MIS type, the reports themselves can be accepted later in the installation process. Once the MIS type is selected, the page will display the license key required for the successful installation of the AutoUpdate software. Enabling all the data exports beforehand makes the subsequent installation process easier and more straightforward. If data exports are not accepted prior to the installation of AutoUpdate, this can be done at the end of the Set-Up step described below. It does, however, make the installation process more complicated. Only a Head Teacher or a designated LA Head Teacher proxy (usually an LA advisor) has the power to accept data exports. Data exports can only be accepted via the support site interface found in User Accounts > AutoUpdate Settings. This page has all the necessary tools to accept specific reports. After reports are accepted by the Head or LA Head Teacher Proxy, the Nominated Contact (or IT manager) must configure the accepted reports to run by setting an export schedule.
|
 If the Head teacher is unable to see the reports after logging in or the page appears as read-only, then a Nominated Contact should check whether the Head's USO account has the role "Head Teacher" configured. If not, please raise a support case requesting that the correct profile settings be applied to the Head teacher's account.
Before you begin you will need: 1. A licence key for USO-AutoUpdate (obtained as part of the activation procedure) 2. Details of, and access to, the target SIMS server 3. A Windows account with administrative rights for use only by USO-AutoUpdate 4. A SIMS username with School Administrator, Third Party Reporting, Personnel Officer groups assigned to it for use only by USO-AutoUpdate.
|
Log in to the school server on which you are installing USO-AutoUpdate. This needs to be a machine that has the SIMS client on it. It is recommended that AutoUpdate is installed on the SIMS server, if possible, since that is the machine most likely to be left on and doing this should eliminate any network issues between a client and the server. It is also essential that the Windows account you are using to log in to the server has full administrative rights. Once you are logged on to the server, go to the following link to download the AutoUpdate software: https://usoau.atomwide.com/usoautoupdate/usoausetup/usoausetup.msi When given the option, choose to save the file to the desktop of the server and double-click the .msi file to install the software. Use the Setup Wizard to guide you through the installation process. Click Next where prompted. 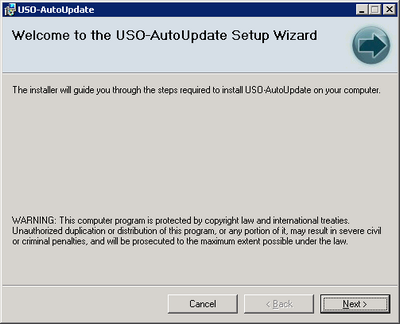 By default, the wizard will offer to install AutoUpdate on the C drive. If this is not where you want it, browse to the correct location and click Next. 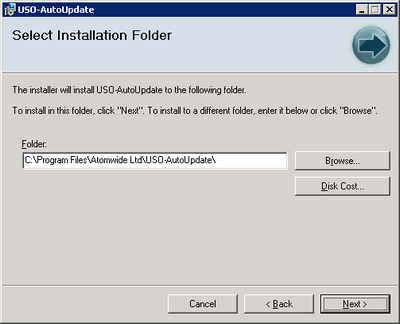 When the Confirm Installation window appears, click Next to proceed. 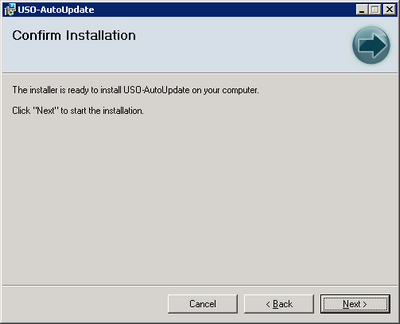 When the software has successfully finished installing, a confirmation will be displayed. Click Close to exit the wizard. 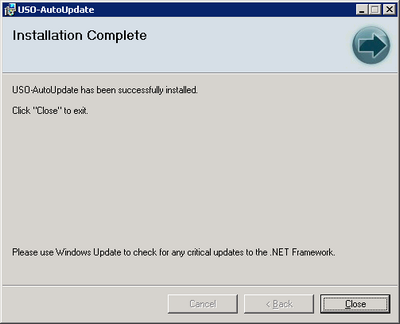 |
See next:
See also: